SOL-50 In-Roof
Photovoltaic in-roof systems
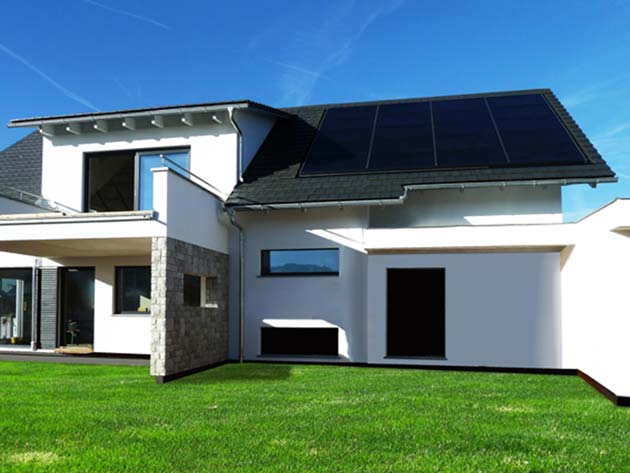
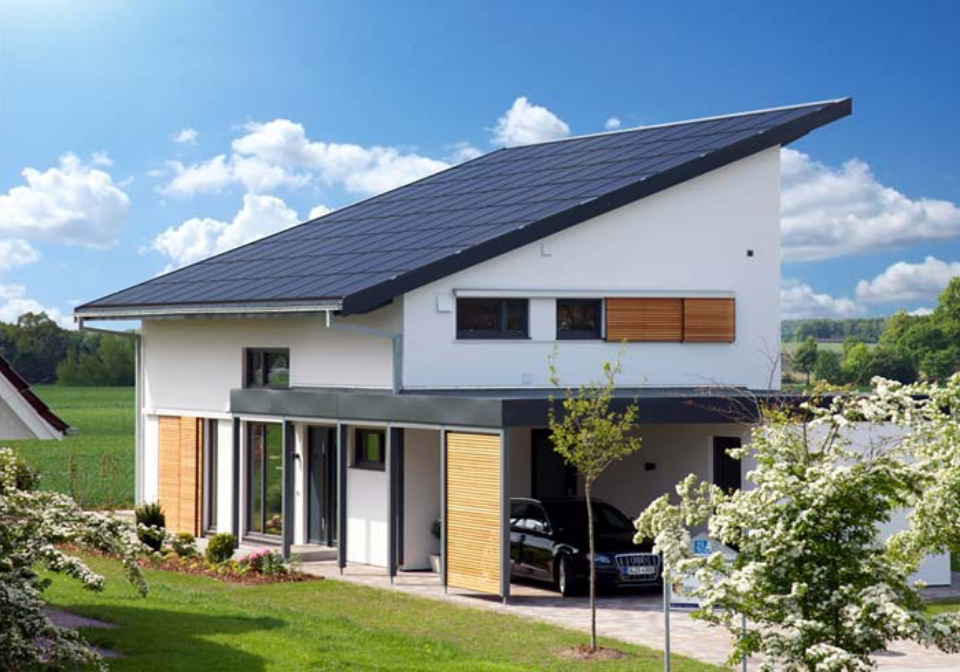
An almost forgotten insider tip for installation - the diverse advantages of a PV in-roof system are best seen in new buildings or roof renovations. All too often, however, planners do not plan an in-roof system in advance or generally forget to suggest it to the client.
In-roof systems save roofing material and the costs for roofing are significantly reduced. Aesthetic aspects also speak in favor of an in-roof system. A very high-quality look can be achieved by color coordination. Fastening elements, electrical connections and cabling are very well protected against the effects of the weather, which also increases durability and significantly reduces maintenance costs.
SOL-50 In-Roof System
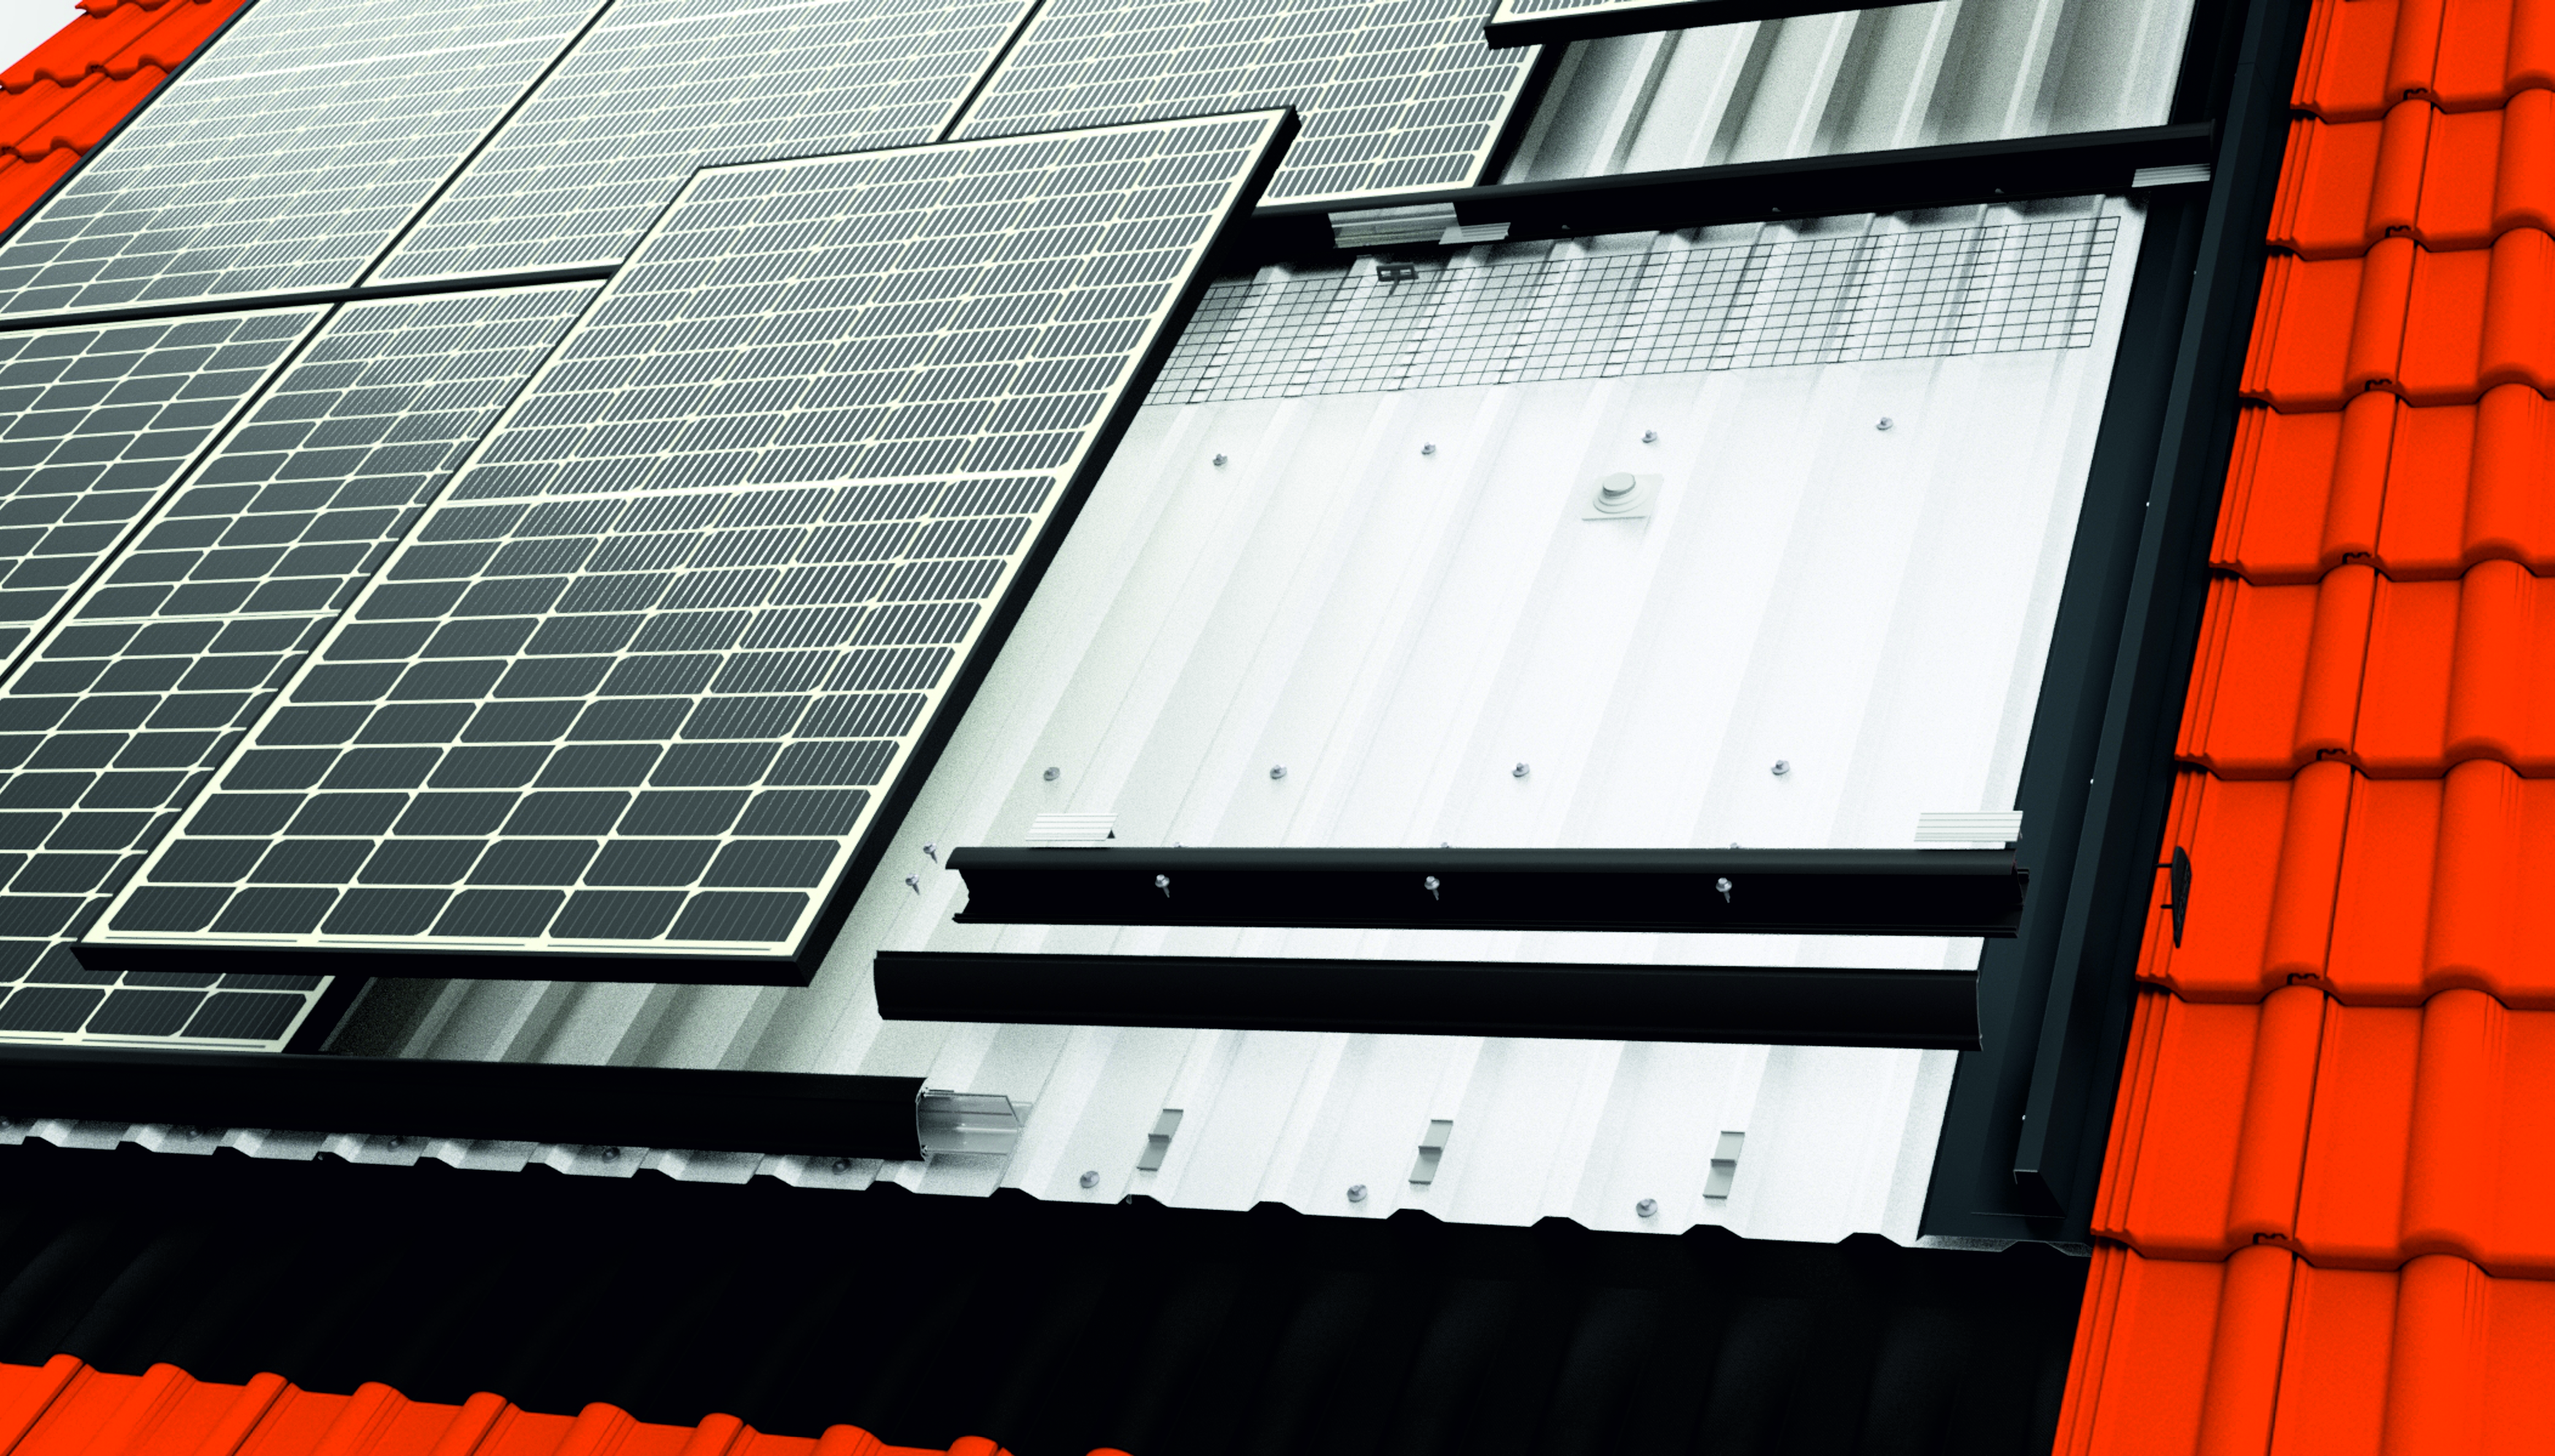
The SOL-50 In-Roof System has been designed especially for roof integrated installations on pitched roofs. The rain safe sub-construction replaces completely the conventional roof cladding and is especially for new buildings or roof restructurings an intelligent possibility to save costs.
Installing the SOL-50 In-Roof System consisting of roof trapezoidal profiles and the generator field a rain safe and easy installation is guaranteed. The modules can be installed either portrait or landscape. Coversheets and special form sheets represent stylishly and shapely the connection as well as the lateral completion between the roof pan tiles and the SOL-50 In-Roof system. The ventilation grilles ensure a good air space of the solar modules and corrosion resisting materials guaranty a nearly undisturbed operating time of the solar installation. Profile screens and end caps additionally care for a harmonious frame optic. Furthermore the system offers a controlled cable lay by cable nets as well as functional theft prevention by module locks.
Die wichtigsten Installationsschritte:
- Rolltraufe aufkleben, Trapezprofilblech montieren
- Eindeckbleche befestigen
- Korrosionsschutz einklemmen, Horizontalprofile verschrauben
- Kabelfangnetze anbringen
- Kabelführungsset und DC-Kabel verlegen
- Solarmodule verschalten
- Modulsicherungen einsetzen
- Abschlussblenden und Endkappen anbringen
The most important installation steps:
- stick the eave flashing, mount the trapezoidal sheet
- fix the cover sheets
- clamp the corrosion protection, bolt the horizontal profiles
- install the cable nets
- lay the cable conduction set and DC cabling
- interconnect the solar modules
- fix the module protections
- fix profile screens, end caps and the air clamp profiles
Examples: SOL-50 In-Roof